Learn how to build this great DIY softbox. A 40cm*40cm Softbox from scratch.
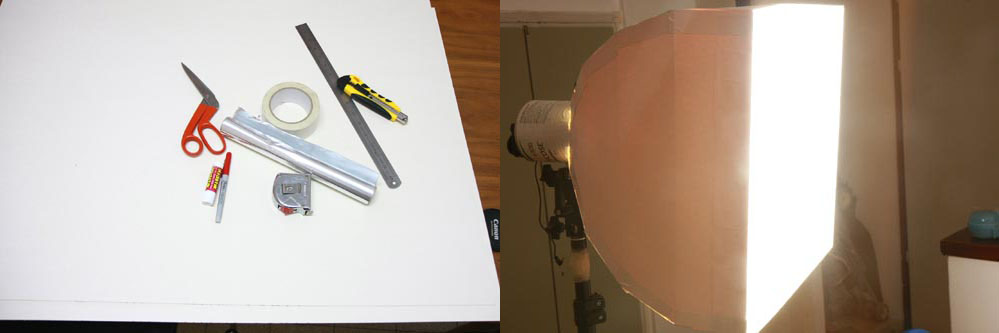
Here’s what you need :
- 2 carton boards 100cm*70cm
- a good pair of scissors
- one marker pen to mark the measures
- Ruler (40cm or more)
- A measuring tape
- Tin foil (to act as the reflector in the softbox)
- Strong scotch tape
- An utility knife
Dig’n and start the project
When you come to think about it, there are some alternatives on the market for cheap softboxes, you might find this one fo example at amazon. For the last couple of years when the strobist way became more popular, poped up some cheap products that can offer great value for your money, no more 160$ softboxes, but also 40$-50$ options for a 20″-26″ softbox(CowboyStudio Photo / Video 16″ Speedlite Flash Softbox with L-Bracket, Shoe Mount & Carry Case ). No more only Canon/Nikon Flashes while the Sigma makes the cheap alternative, but also some chieneese stuff that makes your money well spent.I do on the other hand, love to do some things on my own, I did so with this very simple DIY project, for less than 10$ and some 30 minutes work, you’ll get this piece of art, ready to use softbox.Enjoy and let me know what you think about it!
Lets start:
The first thing we’ll have to do is getting 4 squares 40cm*40cm size.
So that’s how I did it:
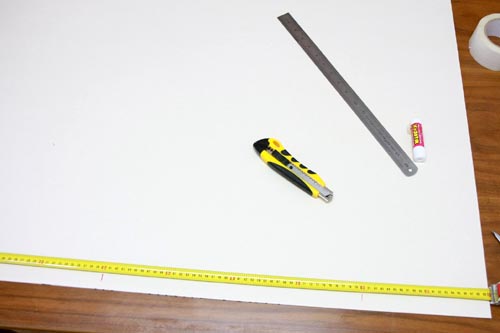
1. Put a mark on the bottom wide side of the carton board every 40cm.Repeat that on the top wide side too.
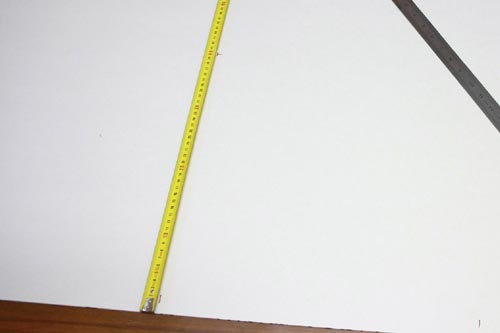
2.Do the same for the short side of the carton board (this will help you get the right 40cm*40cm squares).
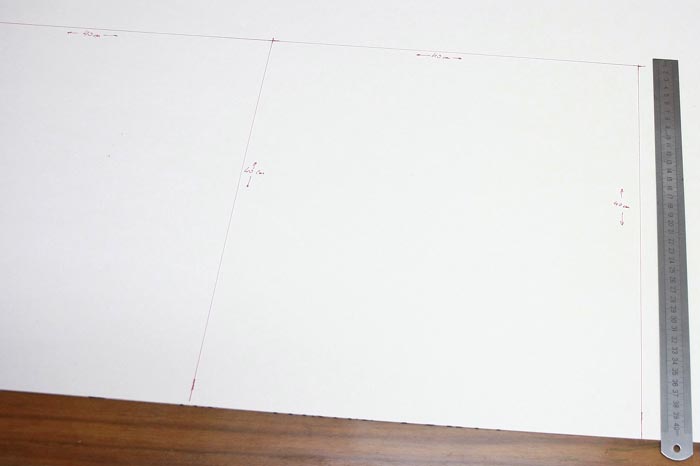
3.after you have those marks,draw the line that make the 40cm*40cm squares.
4. Use your utility knife to cut 4 identical 40cm*40cm squares.This what you’ll get then:
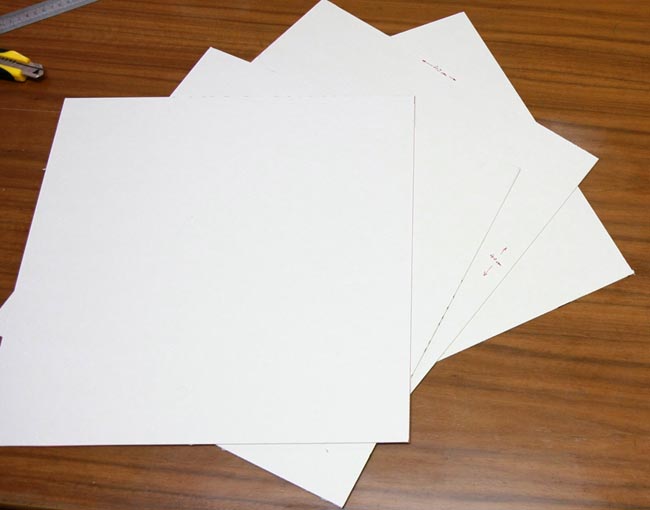
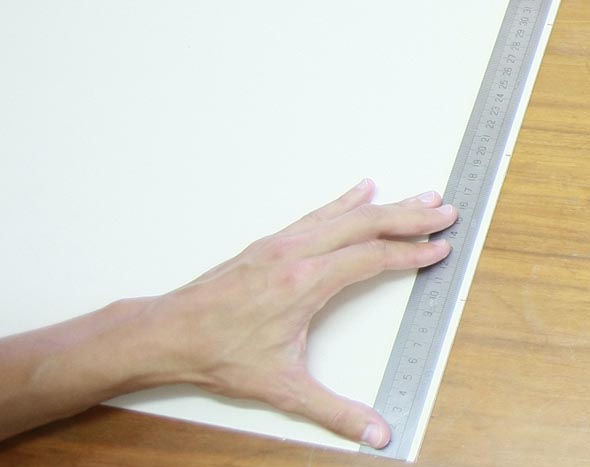
5. On each square make a mark every 10cm as in the picture bellow (right and left sides):
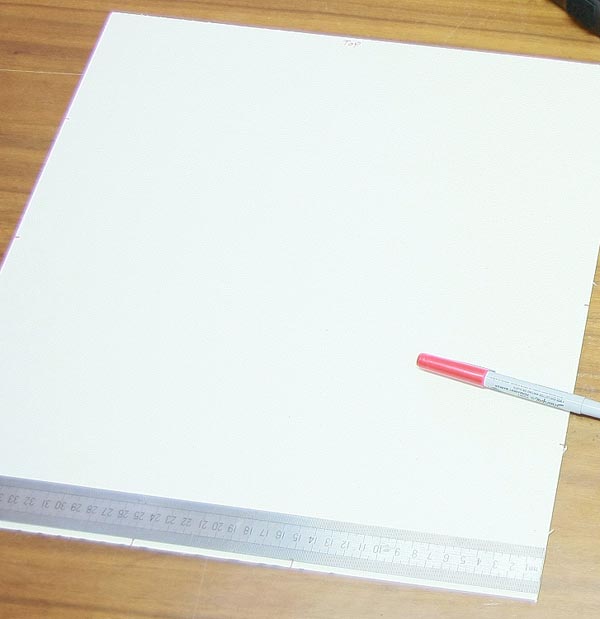
6. At the bottom of the square make 2 marks 15cm from the left side and 15cm from the right side (that 10cm space will be where your flash gun will get into the soft box):
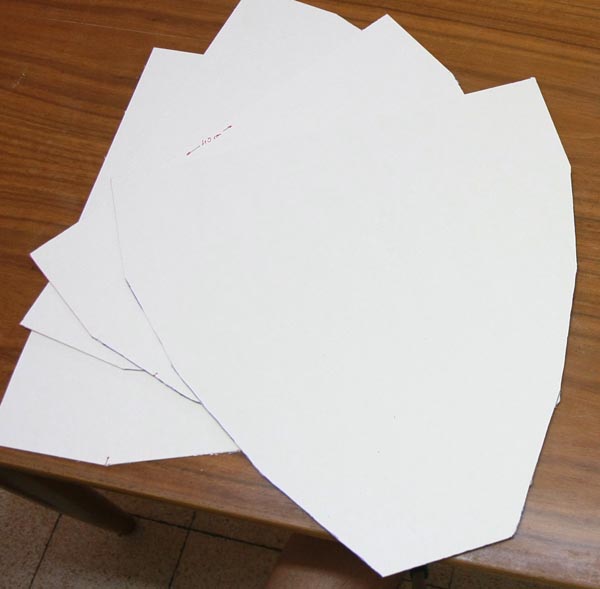
7. I missed one picture here,so I’ll make a draw of how each side of the soft box has to be cut.

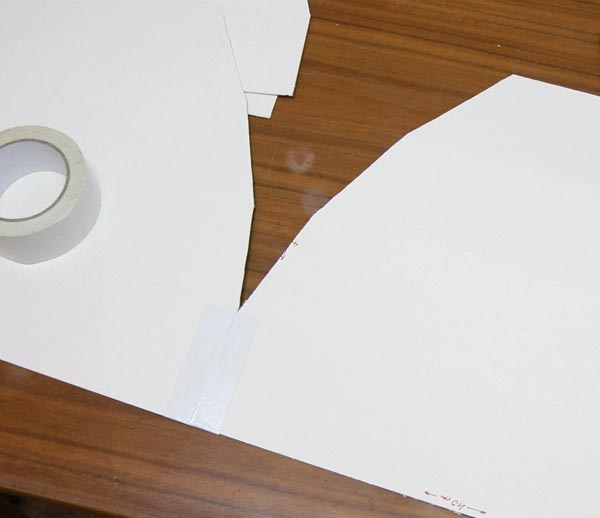
8.Cut those squares and you’ll get this result:
9.Now lets start putting them together.I taped two squares together and then taped them together to form the soft box frame:
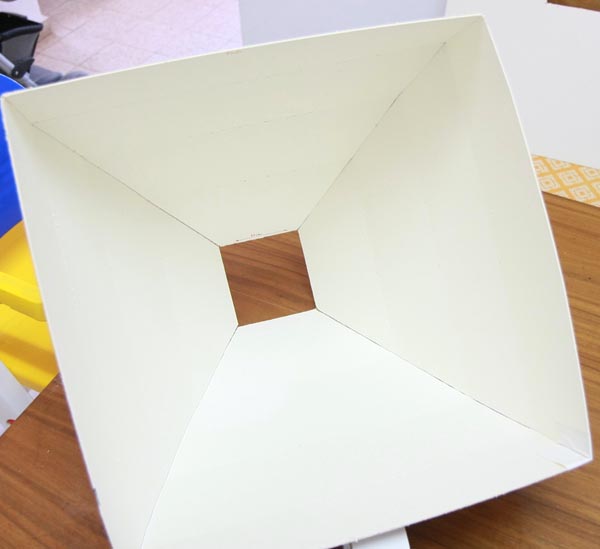
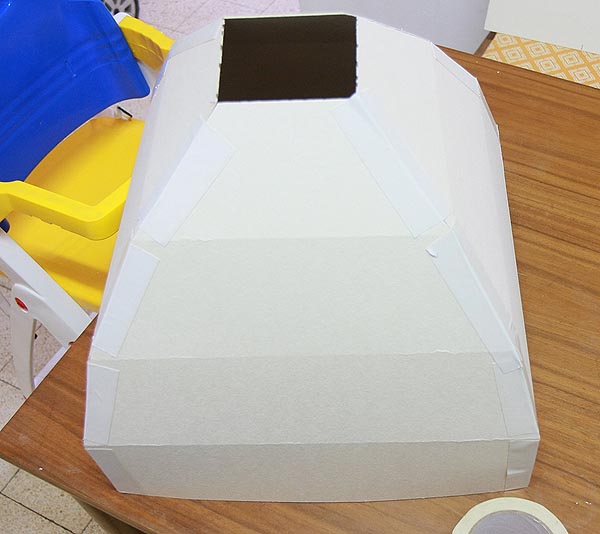
OK That the end of part I on DIY Soft Box 40cm*40cm for Less Than 10 bucks,
Part II
If you’ve got up to here are a step away from this:
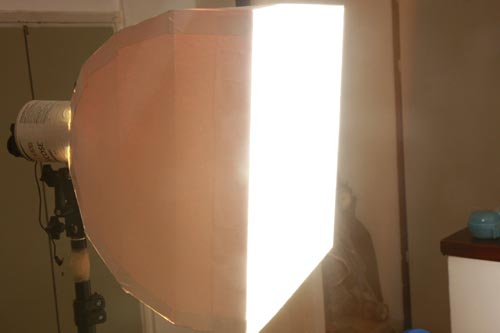
After building the simple to do DIY softbox box,it is time to make the "speed ring” for the soft box and put the diffuser on.
What you need here is simple:
- 40cm*40cm DIY soft box (you did it in part I)
- A 10 cm diameter pipe :can be a plastic pipe,plastic jar of anything stiff enough to hold the soft box and about 20-25cm long.
- A good Sellotape (masking tape).
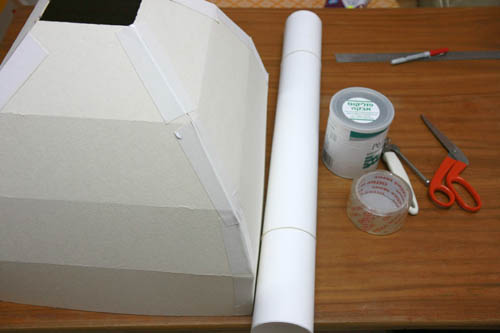
and lets go
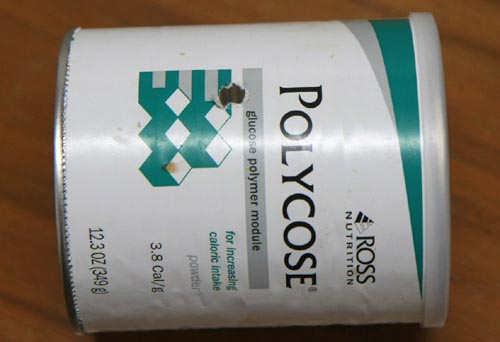
1. Get the "speed ring” ready to use:as a speed ring I used a small baby food can (I have a lot of them cause I a have a baby boy!!!).Open the bottom side of the can with a can opener.Drill a small hole it the middle of the can (thats where the tripod will attach to the can,so don’t make the hole too big).
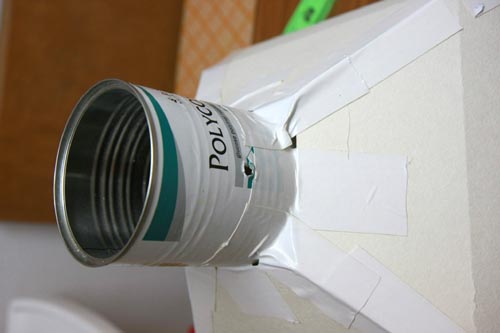
2.Use the masking tape to attach your new speed ring to the soft box.Tape it good so it won’t come apart.
3.For the soft box diffuser you can use almost every material,I used here drawing paper.Get a rectangle 50cm*50cm and cut at corners 5cm*5cm squares.Put it on the floor/table and at the center of it place the soft box.Glue each side of the soft box to the drawing paper.
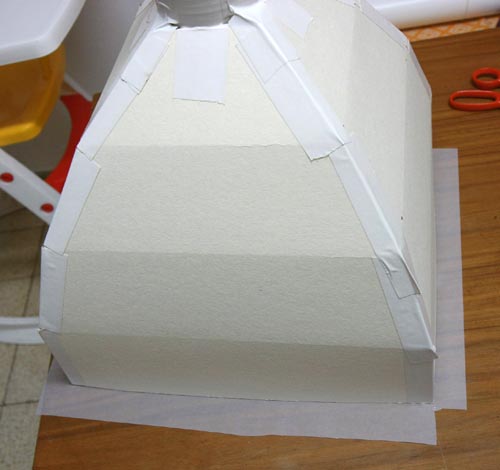
Great by now you already own your first DIY soft box!!!
If you followed the instructions you should have this softbox ready to use:

Stay tuned for my first use of my first cheap DIY softbox:
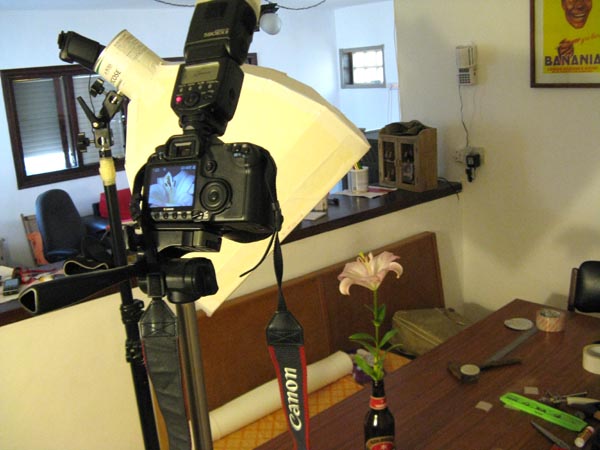
Just some moments after I finished building it’I took some flowers shot,This is the setup:
Share any tips or thoughts about this project!


